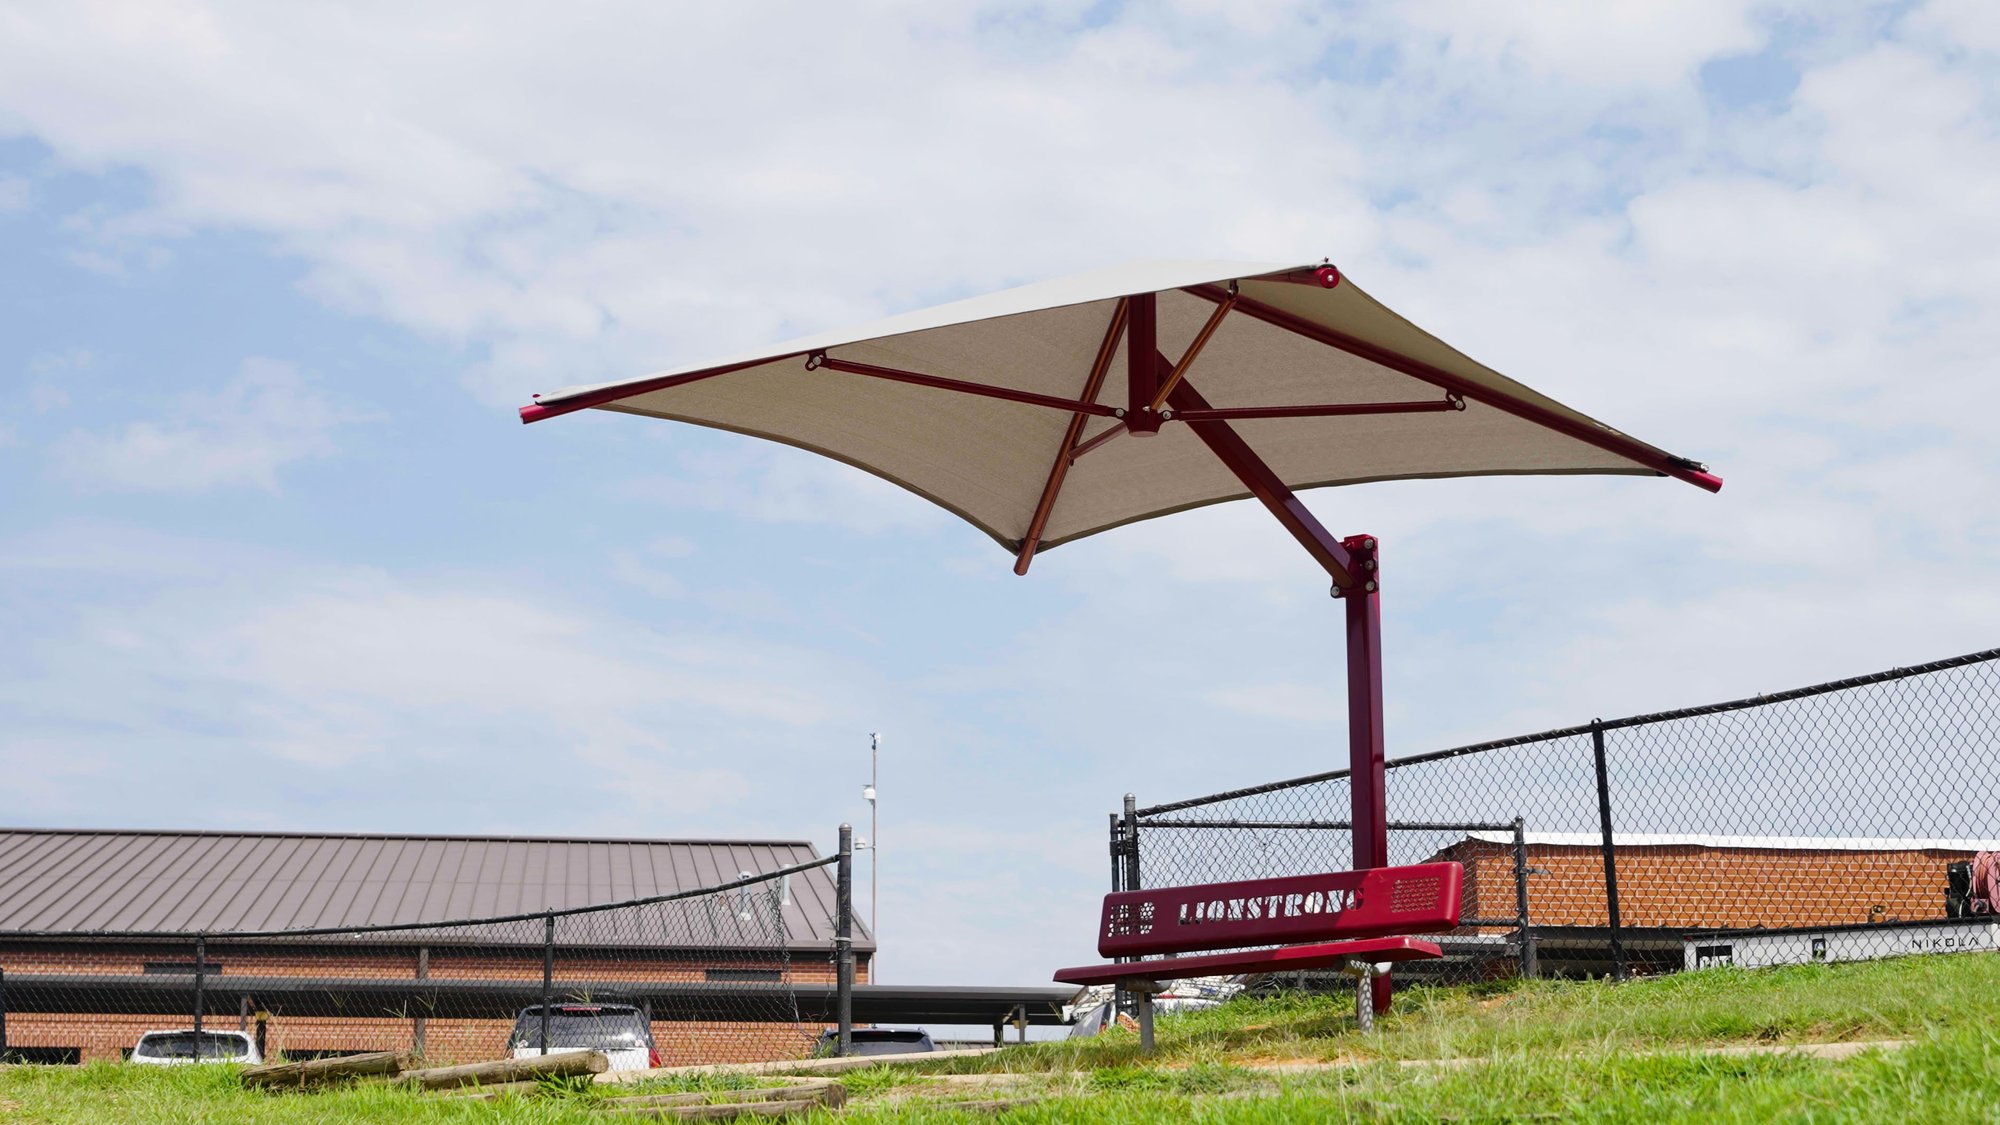
INSTALLING A CANTILEVER UMBRELLA SHADE
Ever wonder how we install our commercial shade structures? Take a look at the video above on how to install a cantilever umbrella shade. Check with the local building department for permits and clear the area of obstacles. Use the local 811 service to check for underground utilities. Different installation methods may apply depending on the shade style.Step One: Dig the Footing Hole
Dig a footer hole at the installation site according to the dimensions provided in the installation packet.
Step Two: Set the Column
Place a concrete block at the bottom of the footer hole and add rebar following the instructions in the installation packet. Set the column on the support block, ensuring it is level and secure. Attach the top piece of rebar and add rebar to the pre-drilled holes at the bottom of the column. Pour concrete around the column until it is six inches below grade level. Allow the concrete to cure for at least 48 hours.
Step Three: Assemble the Frame
Attach the cantilever arm to the column and assemble each rafter by inserting the tapered ends of the Glide Inserts into the non-tapered ends of the rafters. Field drill holes through the rafter and secure with self-tapping screws. Lift and insert each rafter into the shade's crown, attaching the strut. Field drill holes through the rafters using the pre-drilled holes in the crown as a guide and secure with self-tapping screws. Repeat until all rafters are installed.
Step Four: Prepare the Fabric
Unroll the fabric with the hemmed side up. Mark the center point of the cable. Insert the cable ends into the left and right hems of one corner and feed it through both sides until it exits at the next two corners, ensuring the center point hasn't shifted. Continue feeding the cable through the fabric's hem so that both ends meet at the last corner. Exit both ends of the cable beneath the black webbing strap. Cross the excess cable and tuck the remaining cable into the webbing strap.
Step Five: Install the Fabric
Pull the fabric over the framework, attaching it to the Glide Inserts by hooking it over the fabric hole and securing the cables in the cable guide, if applicable. Repeat this process on the remaining two corners. For the corner with the excess cable, hook the fabric hole onto the Insert hook and secure the crossed cables with cable clamps.
Step Six: Tighten the Fabric with the Glide Insert
Remove the protective cover from each Glide Insert and use a power drill or wrench to tighten the hex nuts, ensuring the fabric is snug. Be cautious not to overtighten the cable and fabric. Reinsert and secure the protective covers, ensuring the hole is facing down. Follow the video and installation packet for a successful installation. Prioritize safety, adhere to manufacturer guidelines, and seek professional help if needed for a smooth process.


