Installing a sail shade from Superior Shade can transform your outdoor space into a stylish and functional area. Follow our detailed guide to ensure a smooth installation process.
Essential Preparations Before Installing Your Sail Shade
Installing a sail shade structure requires careful planning and execution. Before you begin, it's crucial to check with your local building department to determine if any permits or approvals are required. Skipping this step could result in fines or the need to dismantle your newly installed shade.
Ensure the installation area is clear of any obstacles, such as vegetation, debris, or asphalt. Additionally, use your local 811 service to check for underground utilities. This precaution will help you avoid damaging any essential underground infrastructure during the installation process.
Marking and Measuring: The Foundation of a Successful Installation
Accurate measurement and marking are critical for a successful sail shade installation. Use a measuring tape and spray paint to mark the center point of each column. This step ensures that your sail shade will be properly aligned and structurally sound.
Once the center points are marked, outline the footer holes based on the dimensions noted in your installation packet. This outline will serve as a guide for digging, ensuring that each footer hole is correctly positioned and sized.
Digging and Foundation Work: Setting the Stage
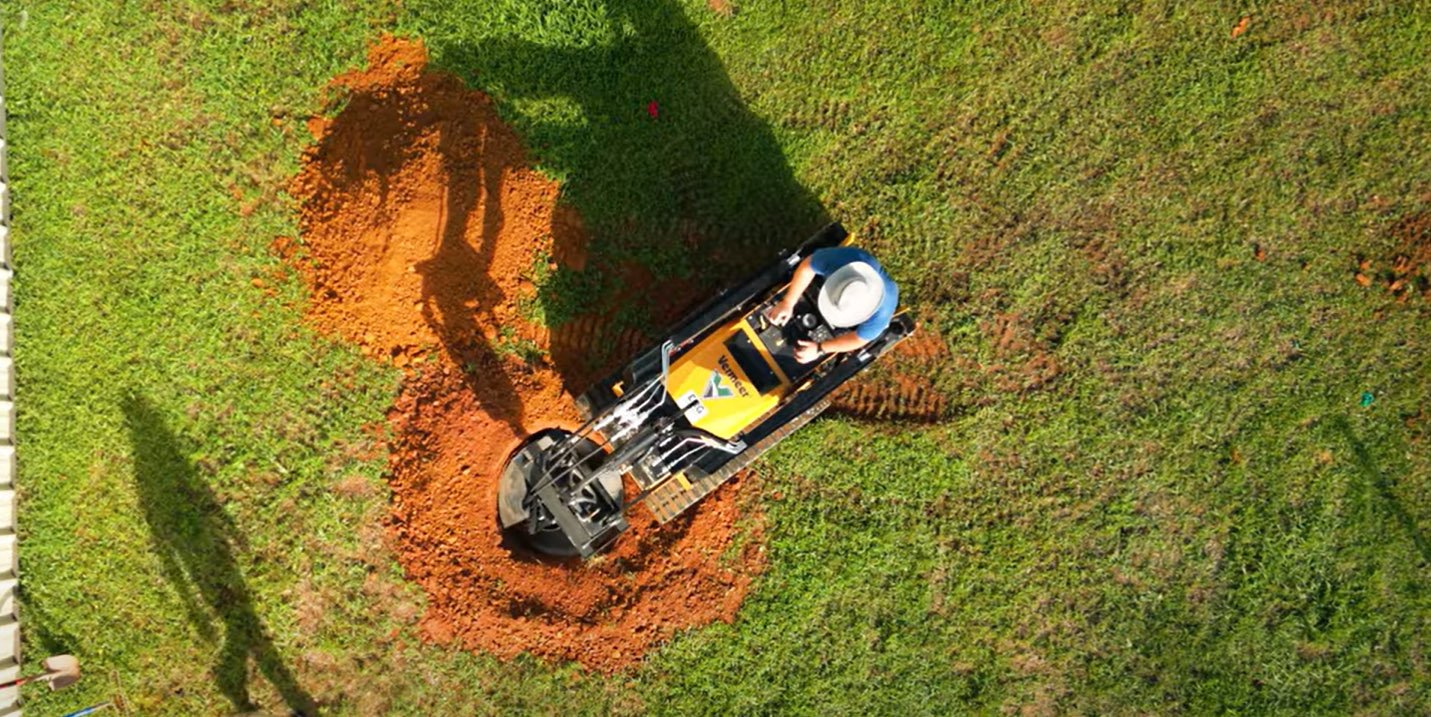
With your markings in place, it's time to dig the footer holes. Use the outlined areas as a guide, and ensure that the depth of each hole matches the specifications in your installation packet. The depth may vary depending on the type of sail shade you are installing.
Next, prepare the foundation by attaching anchor bolts to the anchor bolt template provided by Superior Shade. Suspend rebar in the footer holes and pour the concrete. Depending on whether you are surface mounting or sub-surface mounting, the concrete should be poured to the appropriate level. Use stakes and string to mark the center point of each column within the footer hole. Then, set the pre-assembled anchor bolts with attached anchor bolt template by pushing it into the concrete and aligning the center of the anchor bolt template with the center of the string guide. Allow the concrete to cure for a minimum of 48 hours to ensure a solid foundation.
Column Installation: Building the Support Structure
After the concrete has fully cured, you can proceed with installing the columns. First, remove the anchor bolt template from the anchor bolts. Place the columns onto the anchor bolts using the holes in the column’s baseplate and bolt them into place.
Use a torpedo level to ensure that each column is plumb. Adjust the nuts above and below the column’s baseplate until the columns are perfectly vertical. Once all columns are plumb, tighten all the nuts securely to ensure the stability of the structure.
Fabric Preparation and Final Assembly: Bringing it All Together
If you have opted for a custom sail shade, now is the time to measure the distance between the brackets on each column. These measurements are crucial for the custom fabric to be made to fit perfectly. If you chose a standard sail shade, the fabric should have arrived in your initial shipment.
Unroll the fabric with the hemmed side facing up. Starting at one corner, insert the cable into the hem and feed it through until it exits at the next corner. Continue this process for each side of the sail until the fabric is fully prepared. Finally, attach the sail shade to the columns, ensuring that it is taut and securely fastened.
For a more detailed look at how to install a commercial shade sail structure, check out our video above.


